• Home
  • Blog
    • Love
    • Dance
    • Events
    • Runway
    • Portraits
    • Headshots
    • 35mm
    • Structure
    • UW Life 2016-2018
    • UW Life 2018-2020
    • Hong Kong: Pearl of the Orient
    • Japan: Land of the Rising Sun
  • Investment
  • About
  • Gear I Use
  • Contact
  • Instagram
Menu

SILAS CHU

  • Home
  • Blog
  • Portfolio
    • Love
    • Dance
    • Events
    • Runway
    • Portraits
    • Headshots
  • Projects
    • 35mm
    • Structure
    • UW Life 2016-2018
    • UW Life 2018-2020
    • Hong Kong: Pearl of the Orient
    • Japan: Land of the Rising Sun
  • Investment
  • About
  • Gear I Use
  • Contact
  • Instagram
×
L1004161.jpg

Admiralty

Admiralty

Silas Chu September 19, 2017

There's no shortage of beauty in Hong Kong, and its architecture is no exception. For years, I've watched Chinese dramas and various videos in which the Hong Kong skyline is used as B-roll footage. Of course there are the few buildings that you always see in photos and videos of Hong Kong, but there was one in particular that I was extremely intrigued by.

L1080824.jpg

After pestering a bunch of my relatives for information about the building to no avail, I could not figure out where this building was, or what it was built for. Fortunately, after hours of scrolling through Google Maps, I actually found the building on Street View. It was the HKSAR Central Government Office in Admiralty. 

Once I found out where it was, I knew I had to go visit in person. It was beautiful. The sheer scale of the building took me by surprise, and the whole area was blessed by a quietness that felt very peaceful. The view of the surrounding skyscrapers also helped to add to the ambience.

L1080881.jpg

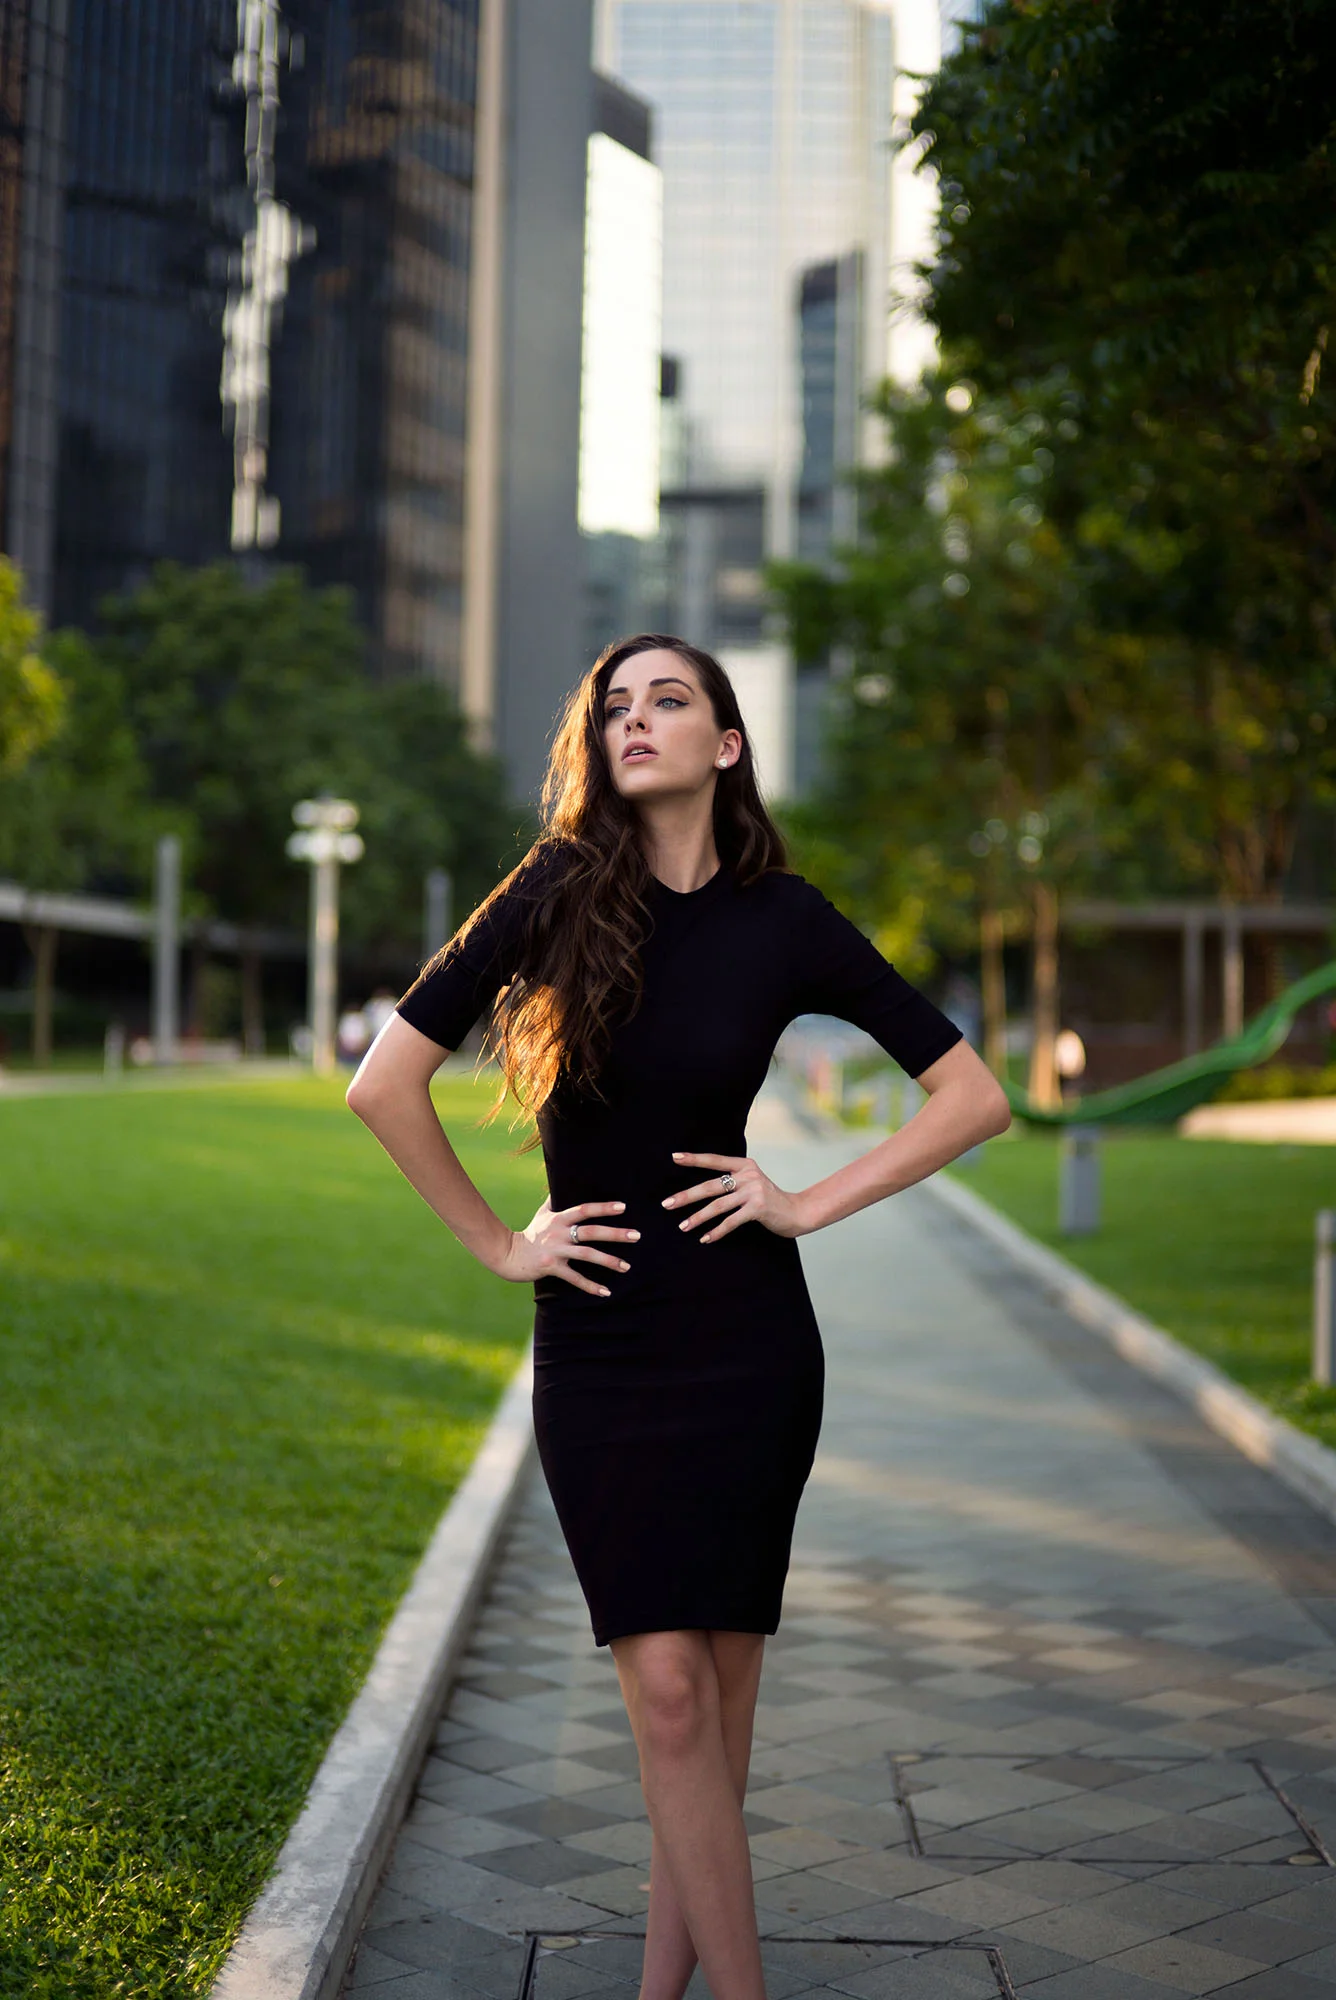
Of course, I had to plan a shoot here. So, I reached out to Sarah Watts, a model living here in Hong Kong. A couple days later, we found ourselves in the middle of Tamar Park nearly melting in 90+ degrees weather.

Here are a few of the images we created.

L1003785.jpg
L1003878.jpg
L1003989.jpg
L1004031.jpg
L1004196.jpg
L1004254.jpg
L1004312no flare.jpg
L1004322.jpg
L1004436 more green.jpg
L1004468.jpg
L1004521.jpg
L1004529.jpg
L1004538.jpg
L1004544.jpg
L1004575 copy.jpg
L1004641.jpg
← In Review: The Leica M (Typ 240)@natgawd →

FEATURED POSTS

Featured
An Adventure to Sai Wan Swimming Shed
Feb 25, 2025
An Adventure to Sai Wan Swimming Shed
Feb 25, 2025
Feb 25, 2025
Back to School
Oct 1, 2023
Back to School
Oct 1, 2023
Oct 1, 2023
In Review: The Leica SL (Typ 601) - A Long-Term Review in 2020
Dec 30, 2020
In Review: The Leica SL (Typ 601) - A Long-Term Review in 2020
Dec 30, 2020
Dec 30, 2020
A Modern Classic
Oct 24, 2020
A Modern Classic
Oct 24, 2020
Oct 24, 2020
Desert Lights
Oct 21, 2020
Desert Lights
Oct 21, 2020
Oct 21, 2020
Film Sets: BC - Before COVID
Aug 15, 2020
Film Sets: BC - Before COVID
Aug 15, 2020
Aug 15, 2020
Quick Look: The Fujifilm X-Pro3
Jul 7, 2020
Quick Look: The Fujifilm X-Pro3
Jul 7, 2020
Jul 7, 2020
Quick Look: The Leica 28mm f/2 Summicron ASPH V2
Apr 23, 2020
Quick Look: The Leica 28mm f/2 Summicron ASPH V2
Apr 23, 2020
Apr 23, 2020
In Review: The Zeiss 35mm f/1.4 Distagon ZM
Mar 25, 2020
In Review: The Zeiss 35mm f/1.4 Distagon ZM
Mar 25, 2020
Mar 25, 2020
In Review: The Ricoh GR (2013)
Mar 18, 2020
In Review: The Ricoh GR (2013)
Mar 18, 2020
Mar 18, 2020